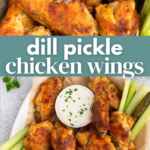
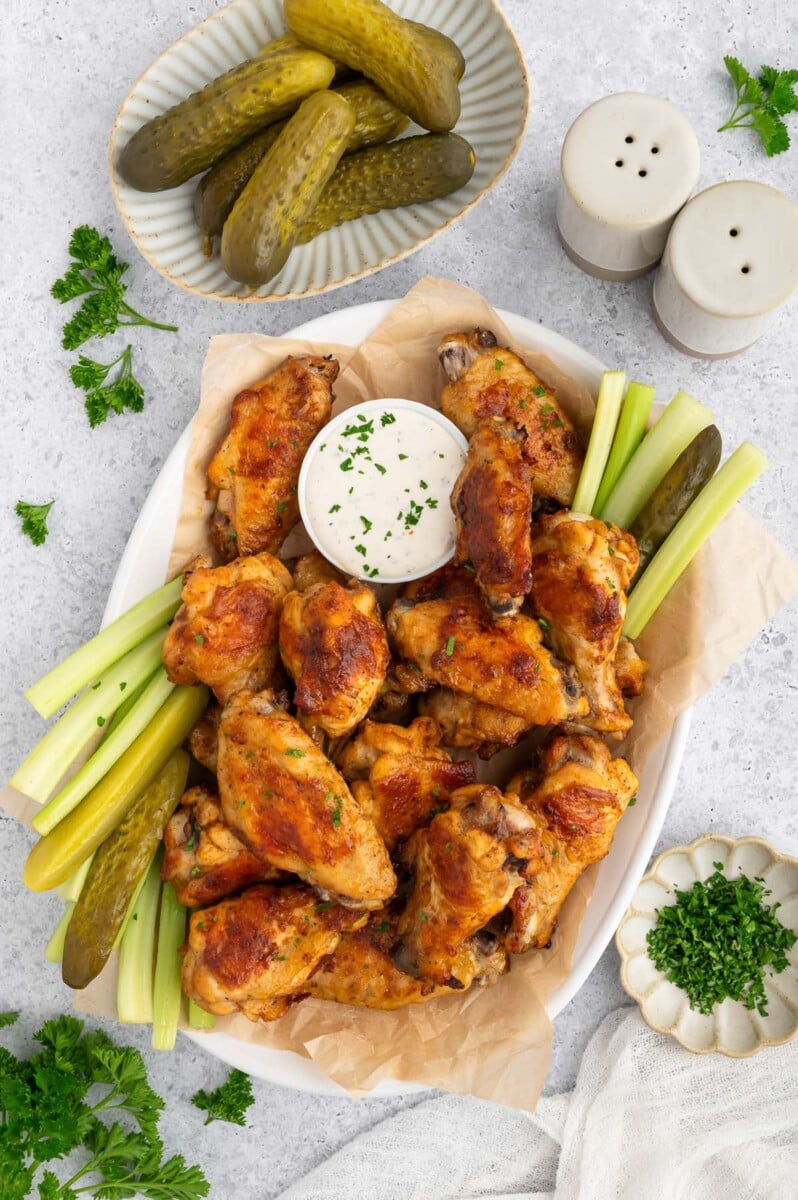
These dill pickle wings are made with a few spices, cornstarch and leftover pickle juice! They are flavorful, tender, and juicy!
One of my favorite ways to use leftover pickle juice from a jar of pickles is by turning it into a marinade that packs a tangy flavor in a short period of time.
Marinating chicken wings in any type of vinegar will help develop salty, juicy meat and using a cornstarch based seasoning helps get that amazing crisp without having to fry! The dill pickle brine really makes these wings tender and flavorful.
These wings are a great weekend snack and will certainly be a crowdpleaser at your next party!

why we love this recipe
- Healthier snack – rather than deep frying chicken wings these are baked in the oven with a delicious seasoning that is simple to make and will get you crispy skin every single time!
- Simple Pantry Ingredients – Using leftover dill pickle juice and a few spices from your pantry, these wings come together in no time!
- Versatile – This dill pickle brine is delicious and can be used on chicken breast, thighs, drumsticks, even ribs and pork tenderloin. This is a great base recipe that can be used on many other meats.
Ingredients

To make these crispy baked chicken wings you will need:
- chicken wings – we use a combo of drums and flats
- dill pickle juice – we use leftover pickle juice from our refrigerator but you can even buy pickle juice from the store!
- extra virgin olive oil – you can also use avocado oil or coconut oil
- cornstarch – this is essential to make the wings super crispy
- sea salt, black pepper, paprika, garlic powder
We also use a parchment lined nonstick baking sheet and these mixing bowls.
SUBSTITUTIONS
Wings: We use a mix of drums and flats. However, if you wanted to use all drums or all flats you could. You can also use this marinade on breasts, thighs, drumsticks, or even pork! We bake these wings in the oven but they can also be cooked in the air fryer although we have not tested that yet!
Dill Pickle Juice: We don’t recommend substituting the pickle juice as this gives the wings that salty tangy flavor and helps tenderize them. You could try marinating in apple cider vinegar and adding dill seasoning but we have not tried this.
Olive Oil: You can substitute avocado oil or coconut oil.
Cornstarch: We don’t recommend skipping the cornstarch because it really makes a difference and helps the wings get super crispy.
Spices: Feel free to use more or less salt, black pepper, paprika, and garlic powder. You can also try other seasoning blends like BBQ, Cajun, or Lemon Pepper! Any dry rub base will be a great companion to the dill pickle brine.
Flavors: We also love our Parmesan Chicken Wings and Thai Chicken Wings.
How to Make Dill Pickle Chicken Wings

- Place chicken wings and pickle juice in a ziploc bag and let marinate for 3-4 hours in your refrigerator.

- Remove wings from the juice and pat dry. Toss together with olive oil and the dry seasonings in a large bowl until well coated.

- Place wings on a parchment lined baking sheet, skin side down.

- Bake on the bottom rack at 400° for 20 minutes, then flip and bake for another 20 minutes or until golden brown.
Pro Tip:
Always pat your chicken wings with a paper towel before adding your dry seasonings. Reducing the moisture on the skin helps make for super crispy chicken wings!
Cornstarch is a game changer and helps give that added crunch to crispy baked chicken wings.
What to Serve with this Recipe:
We like to enjoy these as an appetizer with homemade ranch or healthy blue cheese with celery or carrot sticks for a healthy game day snack.

Storage
Storing: These pickle chicken wings will last in the refrigerator for up to 3 days in an airtight container.
Freezing: We don’t recommend freezing cooked chicken wings, they will lose their crispy exterior!
Reheating: These oven baked chicken wings are best reheated in the toaster oven or oven, air fryer works great too. We don’t recommend microwaving chicken wings because they will not be as crispy. Spray your baking sheet or toaster pan with olive oil, then cook at 350 for 5-10 minutes until crispy again.

Other healthy appetizer recipes:
If you are looking for more flavor packed, yet healthy appetizer recipes for a get together or football party, these are some of our favorites:

Dill Pickle Chicken Wings
Ingredients
- 2 pounds chicken wings (drums and flats)
- 1.5 cups dill pickle juice
- 1 tablespoon olive oil
- 2 teaspoons cornstarch
- 1/2 teaspoon salt
- 1/2 teaspoon black pepper
- 1 teaspoon paprika
- 1 teaspoon garlic powder
Instructions
- Place chicken wings in a ziploc bag or reusable bag (we love stasher bags). We like to use a mix of flats and drumsticks for the wings but either work well in this recipe (flats are my favorite).
- Add 1.5 cups of pickle juice to the chicken wings and let them marinate for 3-4 hours in your refrigerator. (We don’t recommend marinating for more than 5 hours because of the acidity in the pickle juice)
- While the chicken wings are marinating, prepare your seasoning in a small bowl. Mix together cornstarch, black pepper, paprika, salt, and garlic powder and stir together to evenly incorporate the spices.
- Once the wings have marinated, preheat your oven to 400 degrees and prepare a parchment lined baking sheet.
- Remove your chicken wings from the refrigerator and discard the liquid.
- Pat the wings dry with a paper towel to remove any excess liquid from the exterior, this will allow them to get crispy.
- Place the dried wings in a bowl and add the olive oil, mix together thoroughly. Sprinkle the seasoning on top and toss together with tongs to evenly coat the wings.
- Place the wings on your parchment lined baking sheet with the skin side down.
- Place the baking sheet in the oven on the bottom rack. Bake the chicken wings for 20 minutes. At the 20 minute mark, flip the wings with tongs or a spatula. Bake for another 20 minutes or until the wings are golden brown. (Please note: some ovens run hotter or colder depending on the model. You may have a 5-10 minute variance on cook time so always check a little early and take the wings out when they are golden brown on the exterior)
- I find that the flats are usually perfect at the 40 minute mark, and the drums take an extra 10 minutes to get that nice golden brown all over the exterior so I will remove the flats at 40 minutes and cook the drumsticks an additional 10 minutes or so.
Notes
What are chicken wing flats vs drums? https://www.masterclass.com/articles/flats-vs-drums-explained

Celia says
Just a quick question. You have a tablespoon of olive oil in the ingredients listing but I didn’t see in the instructions when to use it. Thanks!
Liz Marino says
So sorry about that, it was a typo! Step 7: Place the dried wings in a bowl and add the olive oil, mix together thoroughly. Sprinkle the seasoning on top and toss together with tongs to evenly coat the wings.
Grace says
These sound delicious! When/where do we add the olive oil?
Liz Marino says
So sorry about that, it was a typo! Step 7: Place the dried wings in a bowl and add the olive oil, mix together thoroughly. Sprinkle the seasoning on top and toss together with tongs to evenly coat the wings.
JoAnn says
What is the one tablespoon of olive oil used for? Cannot find in you instructions, just in the ingredient list.
Liz Marino says
So sorry about that, it was a typo! Step 7: Place the dried wings in a bowl and add the olive oil, mix together thoroughly. Sprinkle the seasoning on top and toss together with tongs to evenly coat the wings.